| 9.5.1.Create Labels Using Mail Merge |
|
|
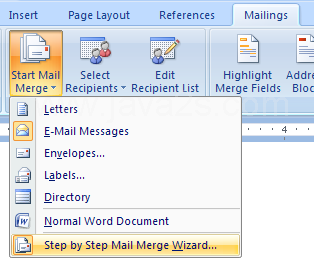
Click the Mailings tab. Click the Start Mail Merge button.

          Then click Step by Step Mail Merge Wizard.
|
|
 |
The Mail Merge task pane opens
|
|
 |
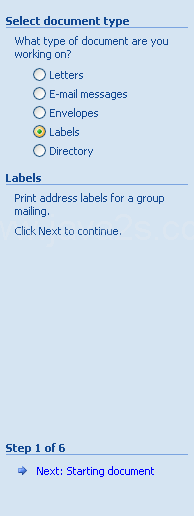
Click the Labels option.

          Then click Next: Starting document on the task pane to display Step 2 of 6.
|
|
 |
Click a starting document option button, and then click Label Options.
|
|
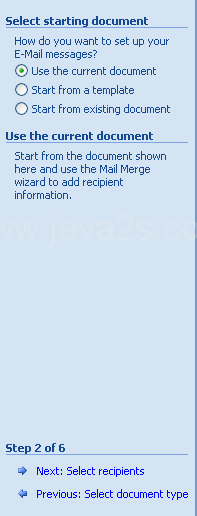 |
Select Use the current document option, click OK.

          Then click Next: Select recipients on the task pane to display Step 3 of 6.
|
|
 |
Click a recipient option, click Browse.
|
|
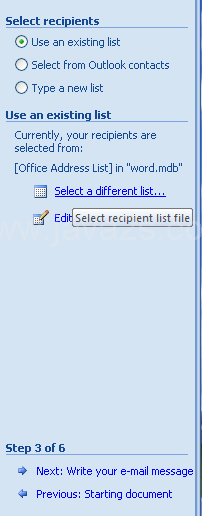 |
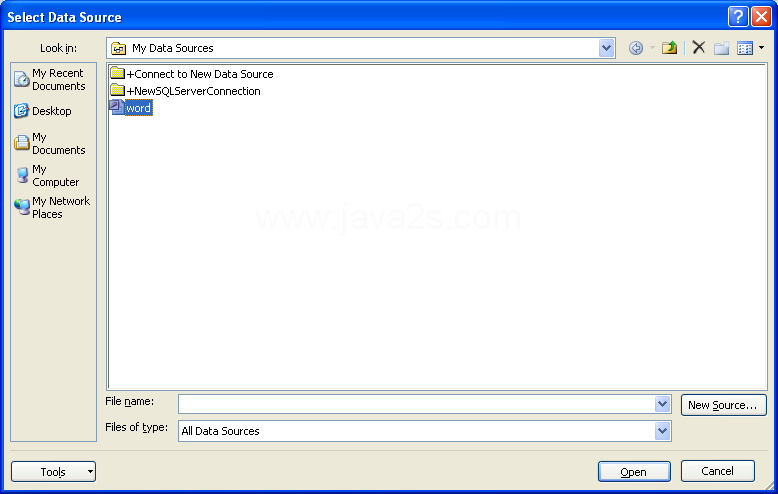
Double-click a data document, select a data source and click OK,

          select the recipients and then click OK.

          Click Next: Arrange your labels at the bottom of the task pane.

          Step 4 of 6 appears on the task pane.
|
|
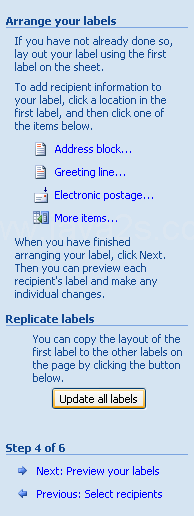
 |
Click Update all labels.

          Then click Next: Preview your labels at the bottom of the task pane.

          Step 5 of 6 appears on the task pane.
|
|
 |
Preview the data in the letter and make any changes,

          and then click Next: Complete the merge at the bottom of the task pane.

          Step 6 of 6 appears on the task pane.
|
|
 |
|
|
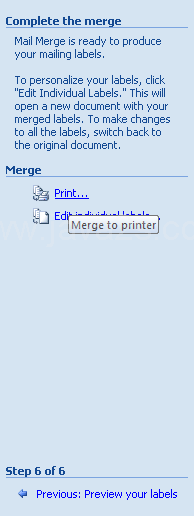 |
Click a Print Records option and then click OK.
|
|
 |